Author: Jari Backman ·
Last change: ·
Original (Finnish): Taivaskamera
Idea
I've been considering getting an all‑sky camera for quite some time. The issue has been the handsome birches on our property and our neighbors',
which keep things pleasantly cool in summer — and even prevented solar panels a few years ago. Because of that, I initially assumed
an all‑sky camera would be a poor investment.
During the summer, I watched two talks on building an all‑sky camera: Linda Thomas‑Fowler presented hers on
The Astro Imaging Channel, and Riku Henriksson at the
Cygnus meeting.
Both showcased using a Raspberry Pi and capable free software.
Based on those, I realized we actually have fairly open views to the east and west, and despite the trees there is usable sky from about
30–40° altitude toward both south and north. Perhaps there was a chance to build an all‑sky camera — and a reason to learn the Raspberry Pi.
It might even enable following brighter variable stars.
Raspberry Pi
Sometime in July I started planning in more detail, and the first order — a Raspberry Pi 4 starter kit — went out on August 8.
I added a camera, wide‑angle lens, a power supply and an Ethernet cable to the order. Then the shipment was delayed waiting for the lens;
a few weeks later the cable (which I could have bought locally) became the new delay. After some feedback, I received the shipment on September 21.
I began learning the Pi and planning the installation. Within a few days I installed Thomas Jacquin’s
AllSky software — soon the screen showed a wide picture of the study ;)
The lens focal length is 2.7 mm, which does not cover the entire sky. The manufacturer’s field of view is 140° in one direction and
102.6° in the other, reaching about 20° above the horizon in one direction and 39.2° in the other. With the sensor diagonal, the effective
coverage approaches 180°.
The Raspberry Pi operates on DC power. With Power over Ethernet (PoE), a device on an Ethernet LAN can be powered using the same twisted pair
that carries network traffic. For devices over 13 W, cabling should be at least CAT5. I therefore added a PoE HAT with a fan and power
the camera via Ethernet.
Enclosure
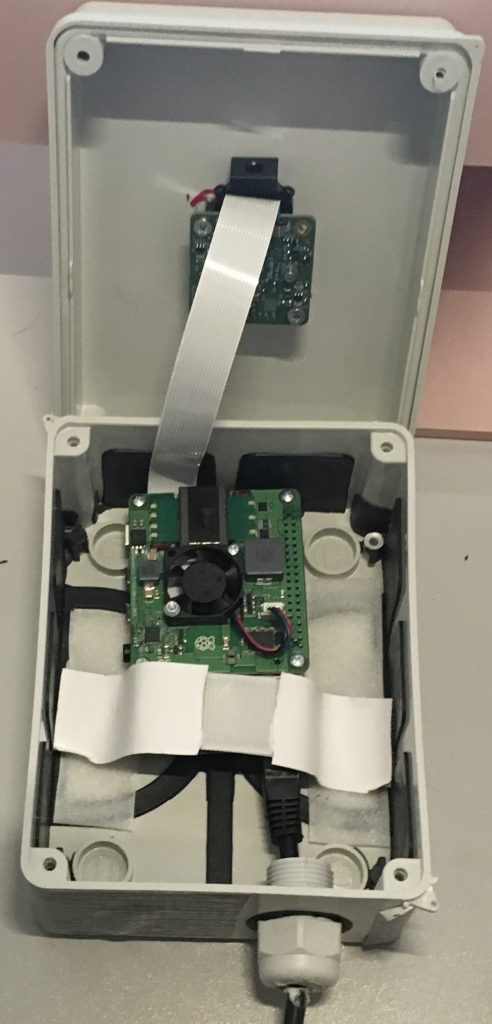
Case opened. Raspberry Pi and PoE HAT with hook‑and‑loop; camera attached to the lid via ribbon cable.
I chose a rectangular electrical enclosure slightly bigger than the Pi and drilled a hole in the lid for the camera. Most all‑sky cameras use an
acrylic dome to protect the lens and electronics. I briefly considered leaving the dome out but ended up installing a 25 mm dome onto a rubber
gasket, carefully taped on top of the case.
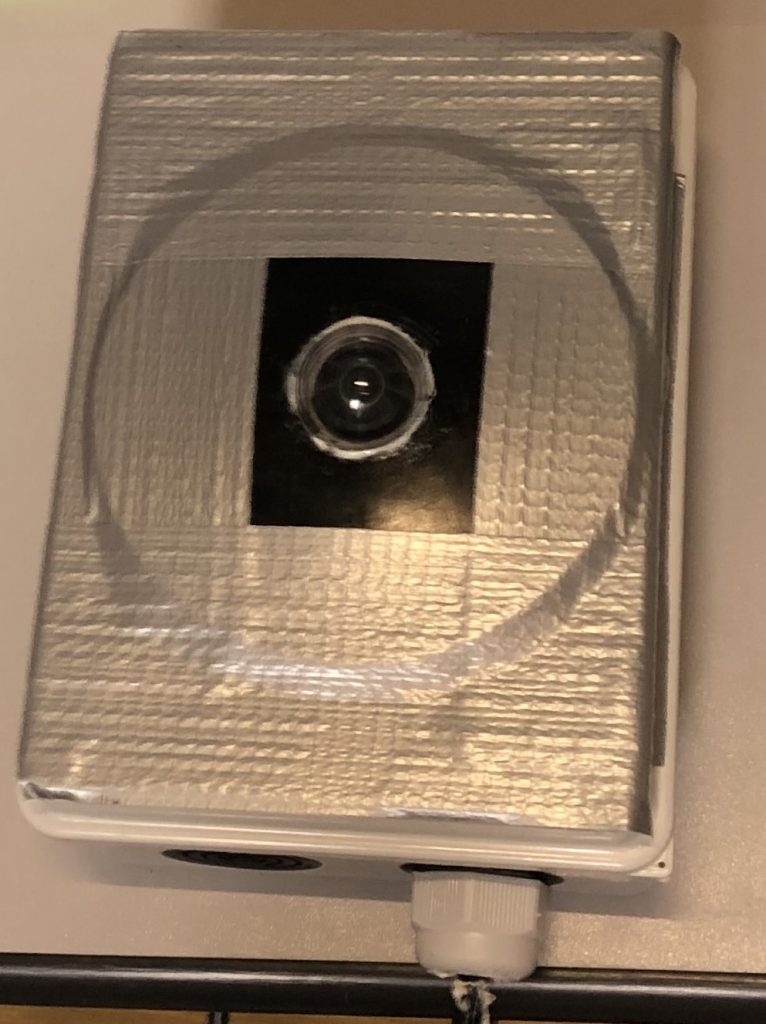
All‑sky camera ready for installation. The lens sits under the protective dome.
The housing is mounted about a meter above the eaves on a wall‑mounted antenna mast. This installation makes orientation and maintenance easy.
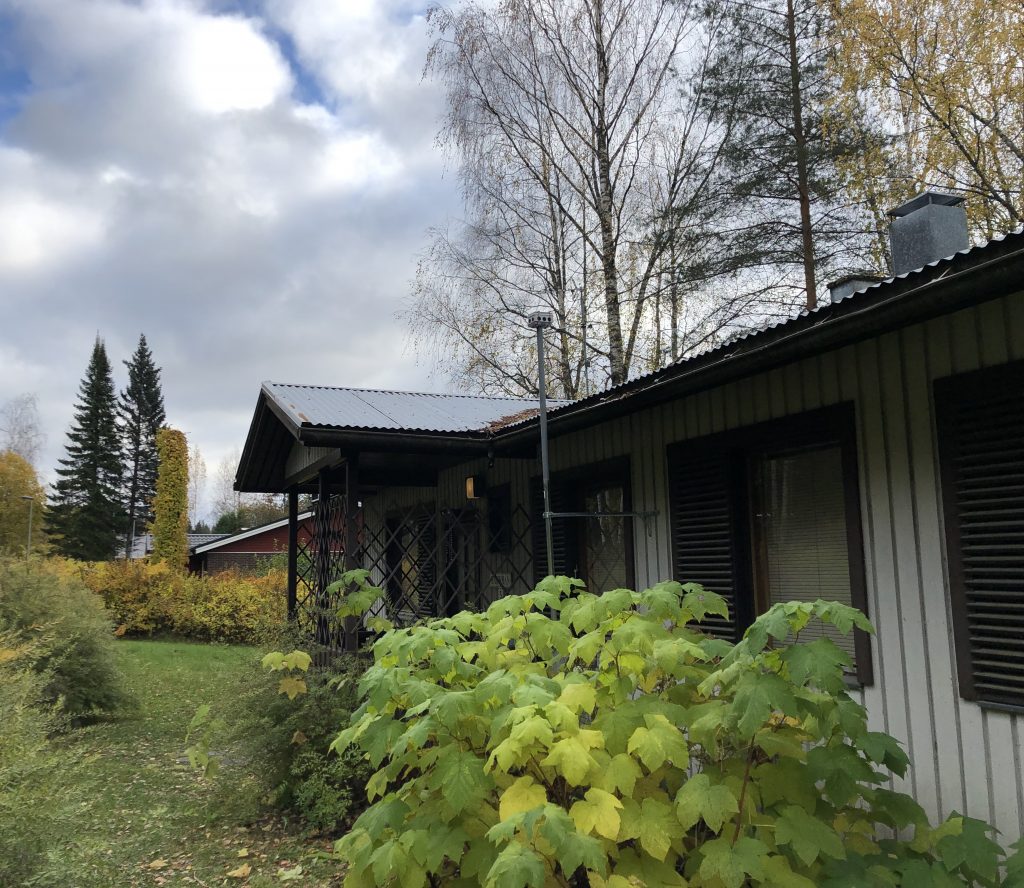
Camera in place on the mast. I taped over the alternative round punch‑outs to avoid questions later.
Checking the Cardinal Direction
For almost forty years, I believed our house’s long axis ran close to east–west. Several telescopes had been aligned using a phone compass app,
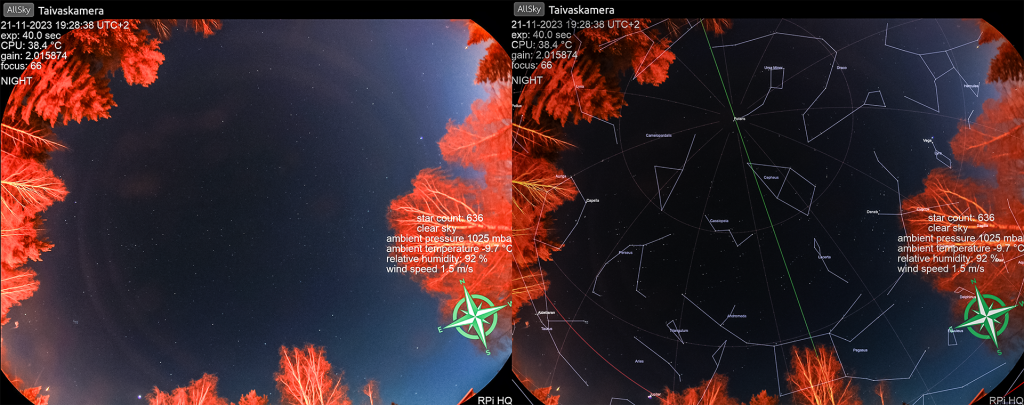
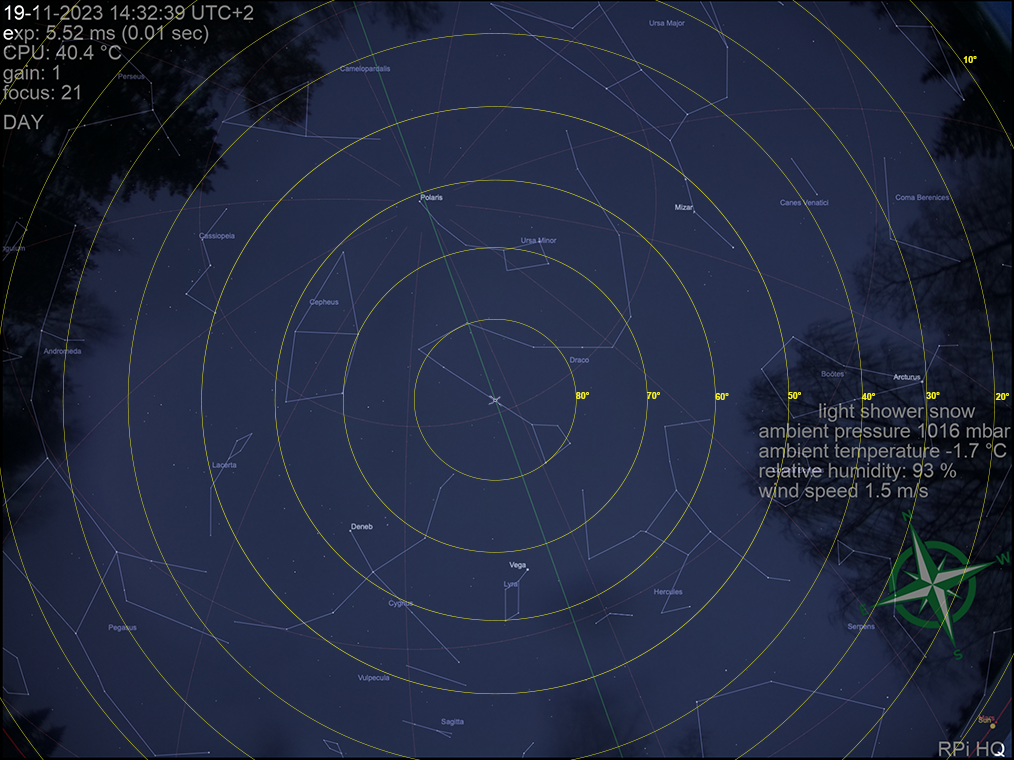
which seemed roughly correct. The AllSky overlay (constellations, planets and bright deep‑sky objects) told a different story: Polaris and Ursa Minor
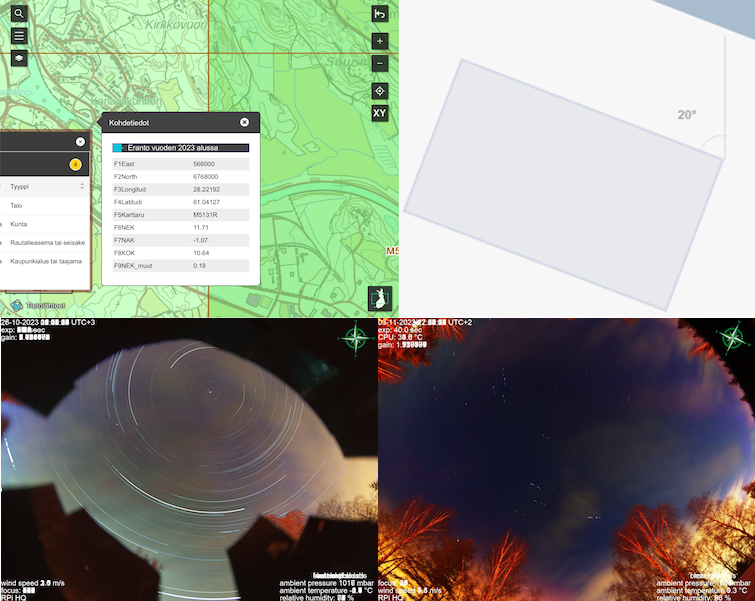
were clearly off. The reason was the sizable magnetic declination in Lappeenranta — true (map) north is about 10.6° west of magnetic north — and on
Google Maps our building’s alignment is almost 20° off. Rotating the overlay 18° counterclockwise solved the mismatch.
Declination correction and house orientation (top); sample images with/without overlays (bottom).
I also noticed the largest trees were in the corners of the frame where the field of view is widest, while the central area had clearer sky. By
rotating the camera itself by 45° I recovered more useful sky and switched from mechanical masks to software overlays.
View in November 2023 (left) and with the constellation overlay (right).
Weather Resistance
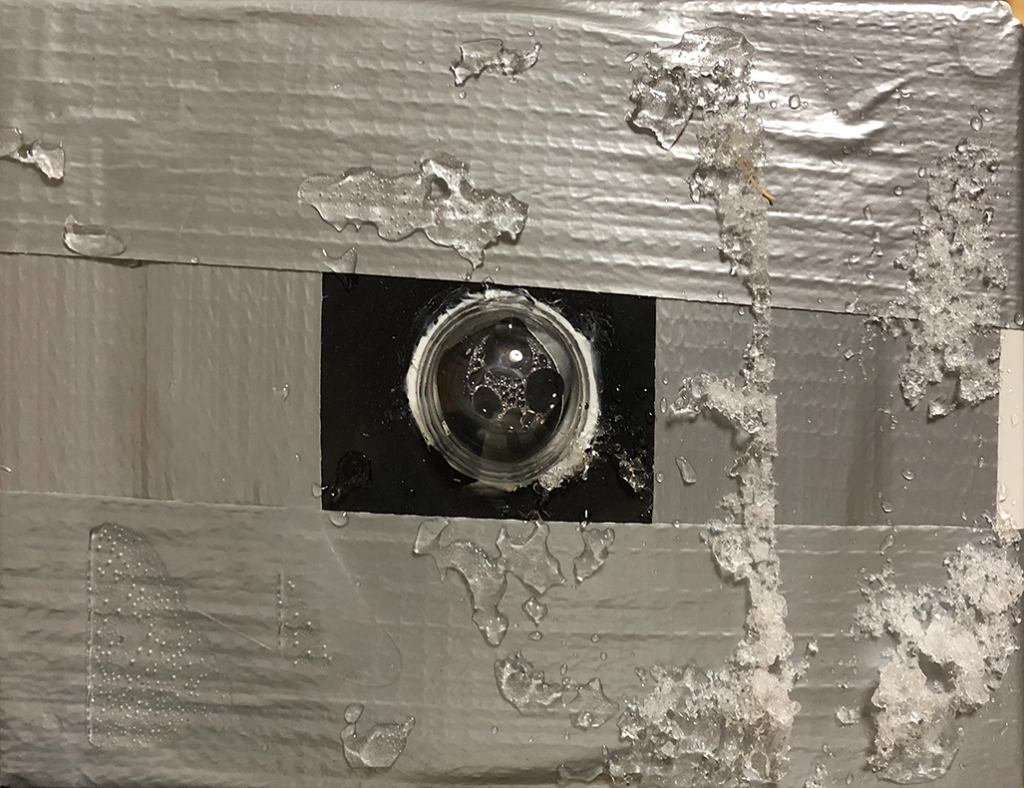
I hoped to keep moisture out, but after a few weeks I saw clear traces of water inside the dome — likely condensation from ambient humidity trapped
during installation. The main enclosure remained dry. The internal temperature runs over 40 °C warmer than ambient due to the CPU.
Condensed moisture under the protective dome. The warm housing even partially melted snow on top.
A small dome leaves little room for a heater and would need temperature and humidity sensing. Instead I shimmed the camera mount so there is a
~1 mm gap between lid and camera plate to allow air to circulate between the dome and the box with help from the fan. We’ll see if that suffices.
I also added desiccant beads in a ventilated pill bottle.
Focusing the Wide‑Angle Lens
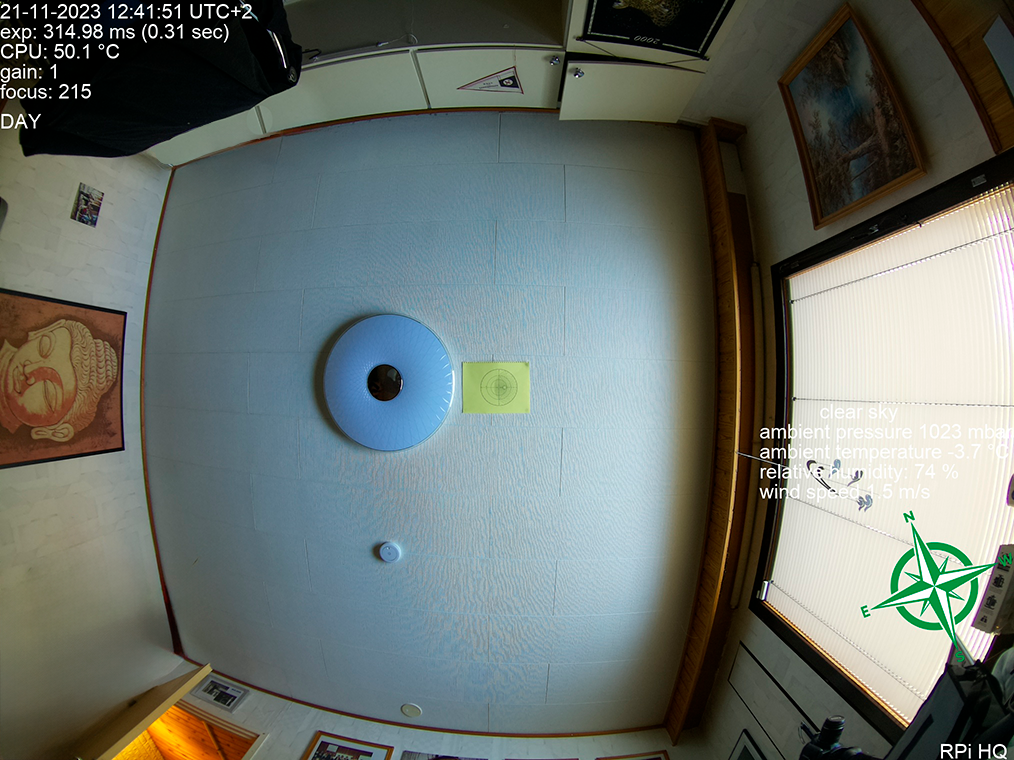
A paper target on the ceiling helped with focus tests (the ceiling texture worked even better).
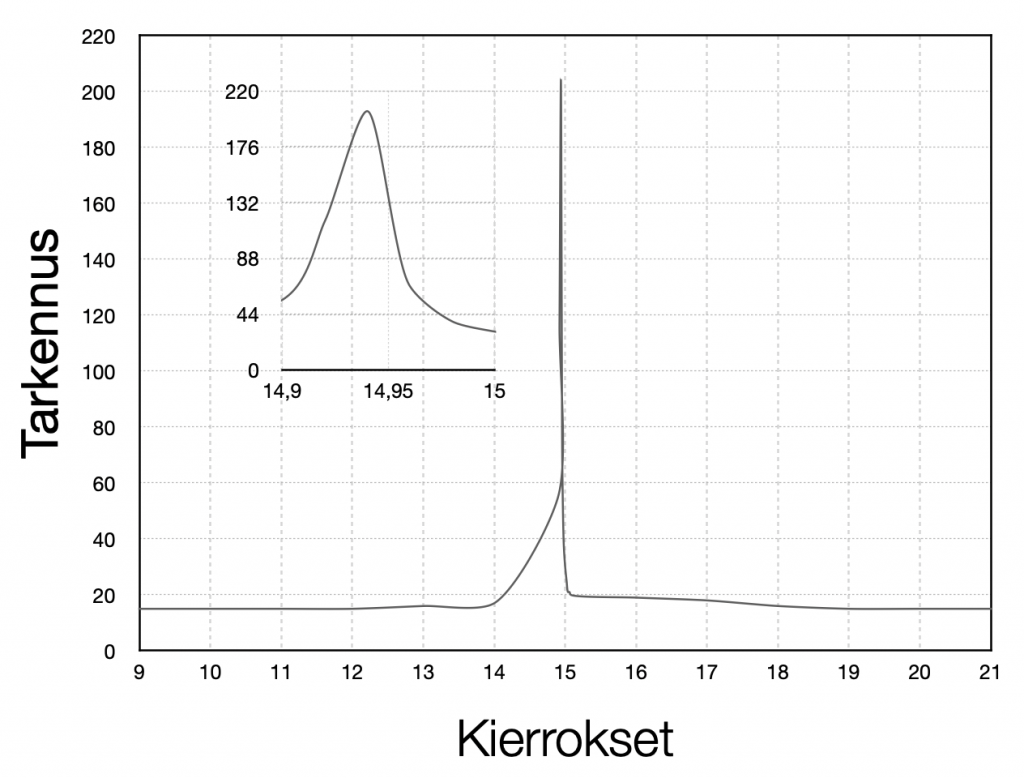
The lens focuses by rotation on a very fine thread; perhaps due to the extremely wide field, the critical focus zone is very narrow.
The software reports a focus metric that peaks a little above 200.
Focus lives within a few millimetres of rotation; only one locking ring fit on the threads.
Field of View
I was initially skeptical about the visible sky from our neighbourhood. Using the constellation overlay I sketched altitude rings for the camera.
Altitude rings of the sky visible from our site (10° steps).
In the southwest a big birch limits the lowest visible sky to about 55° altitude; in the northeast the forest reaches 40°. In contrast, the
northwest and southeast open down to ~15°. Overall the trees cover roughly one quarter of the field.
Using the Camera
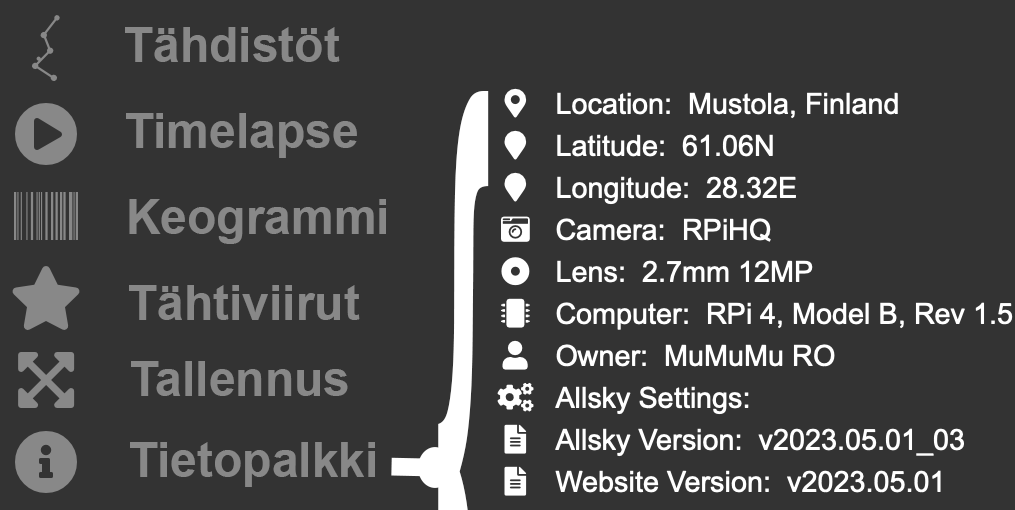
The camera updates every two minutes at night and every four minutes during daytime. The left‑hand menu lets you toggle the constellation overlay,
create a timelapse of the night, make a star‑trail image (requires a truly clear night), generate a keogram, download the current frame and show the info panel.
Auxiliary tools and the info panel in the AllSky web interface.
Our camera is also listed on Thomas’s world map of AllSky cameras — a handy way to see stars at almost any time.
Pros, Cons and Costs
One can always plan longer and ask other enthusiasts for advice. YouTube helped a lot and getting started with the Pi was mostly smooth,
but the standard Pi documentation gave me only a narrow sense of using the OS, so at first I could only control the camera via the AllSky interface.
When experimenting with focus, the 15‑second update cycle felt slow, which also forced keeping careful notes.
I did manage to control the camera via video stream, but bandwidth made image quality much worse, so I dropped it. With winter coming,
I briefly regretted not building a tube‑style camera: a box collects more snow. On the other hand, the chosen antenna‑mast mount works well:
cleaning snow or taking the box down for service is easy.
After the first real snowstorm most snow either blew off or melted on the warm lid. Time will tell how much maintenance is needed.
Riku reportedly built his for ~€200. Mine ended up about twice that: the Raspberry, camera and lens alone were almost €250; the acrylic dome,
cooling fan and mounting parts roughly the same again.
At Nova’s November meeting I presented the project; it sparked lively discussion, and I published the first draft right away.
I’m very happy I started this build.