Our club received a donated telescope. This article documents how we brought it back into active use: checking
the optics, assembling the mount, balancing, and doing the first alignment tests.
The goal was to make the instrument reliable for club nights: quick setup, stable tracking, and repeatable
pointing. Along the way we also recorded a few practical tips that help avoid the most common beginner
mistakes.
Images
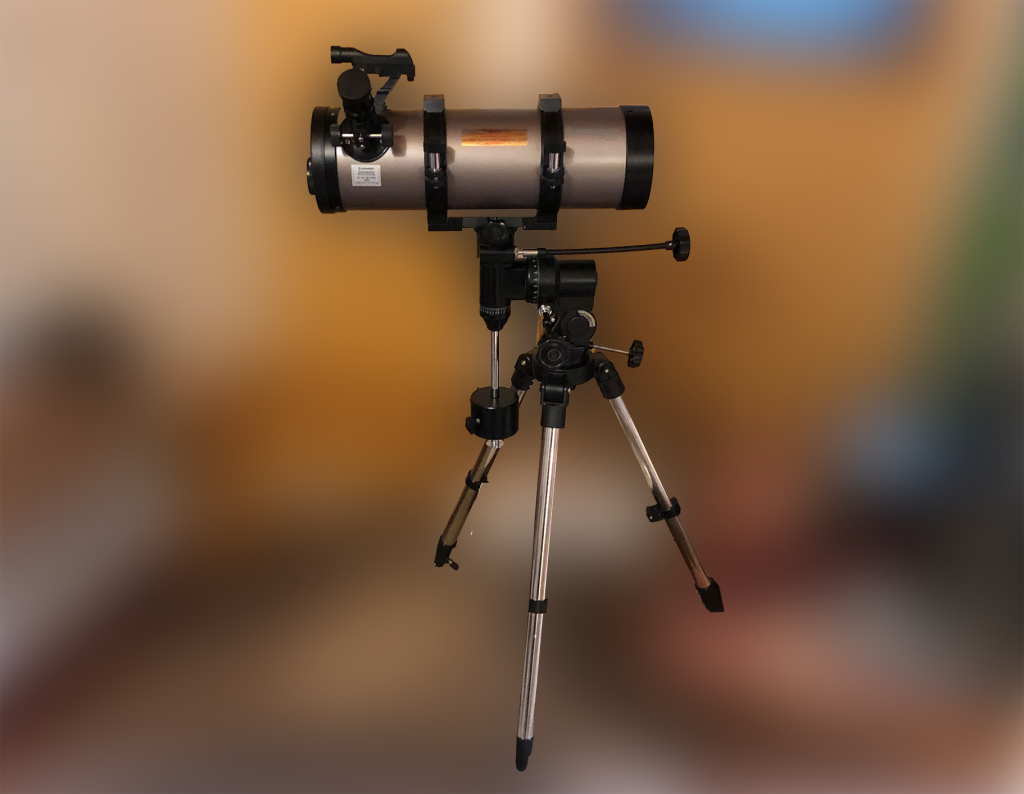
Bresser Pluto 114 mm / 500 mm Reflecting Telescope
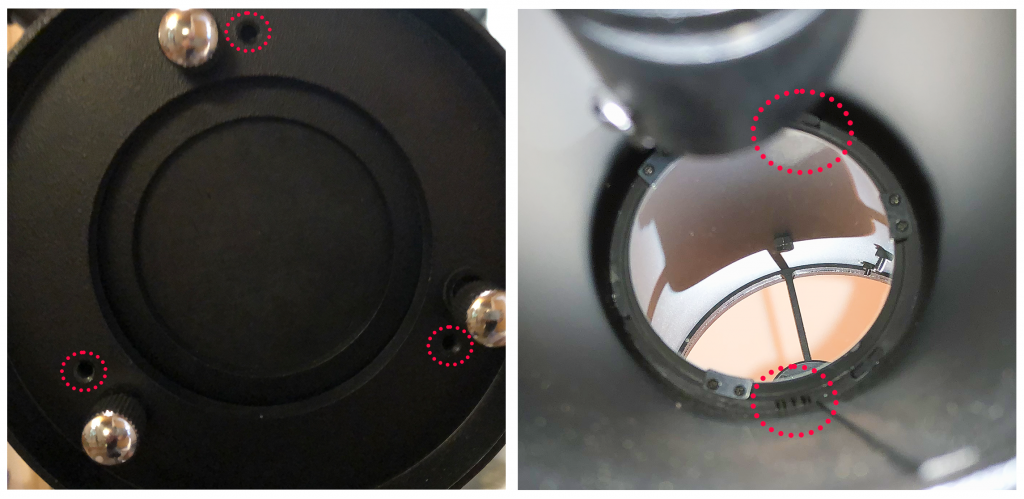
The left picture shows the back of the main mirror, where the threaded holes for the missing locking
screws are marked, and the right picture shows a view inside from the other end of the tube. Above, a
handprint glowing in the mirror is circled, and below, a spring that has strayed to the bottom edge can be
seen.
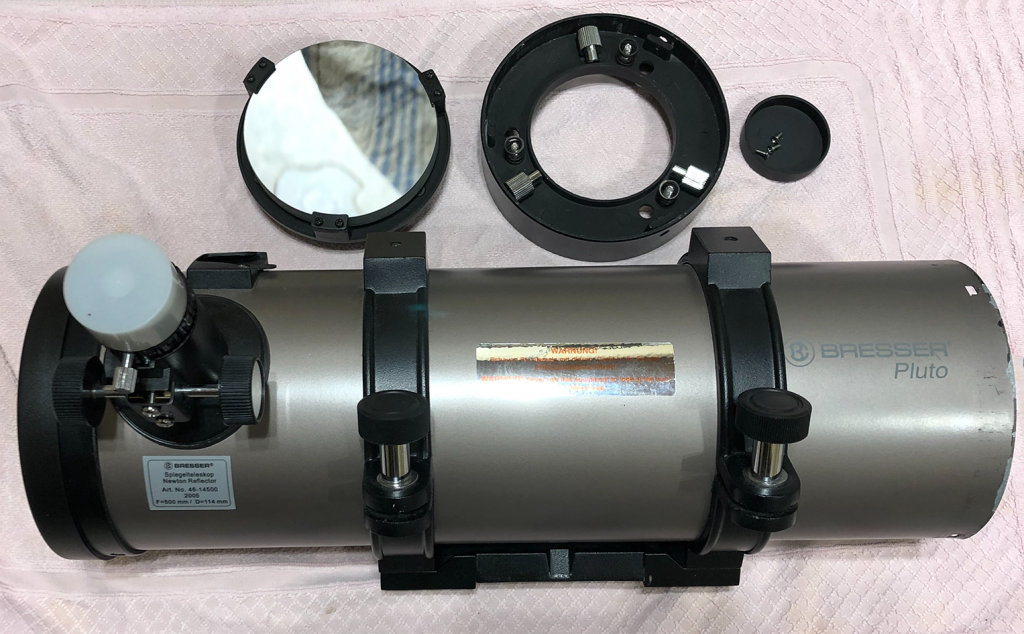
The parts of the primary mirror disassembled above the tube. The mirror is attached to its base by three
rubber support brackets. At the bottom of the disc are three bolts that come through the mounting disc
(above center) and into which large-headed collimation screws are screwed. The springs and collimation
screws are used to adjust the mirror to the correct position, and smaller locking screws hold the
adjustment. The small cup contains the side screws that attach the mirror to the tube, and the small hole
in the tube on the right indicates the location of one of the screws
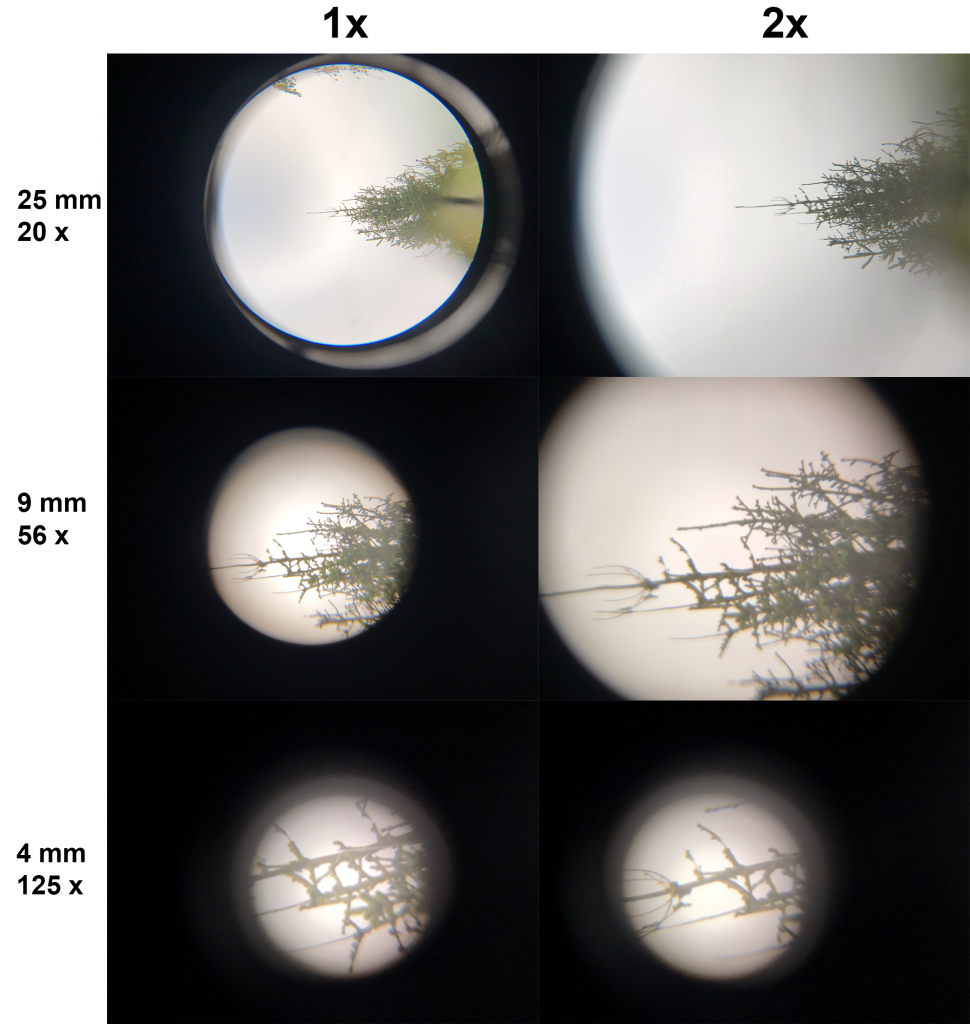
Phone camera images with different eyepieces and camera optical magnifications. The magnification values
given on the left should be multiplied by two in the images on the right.
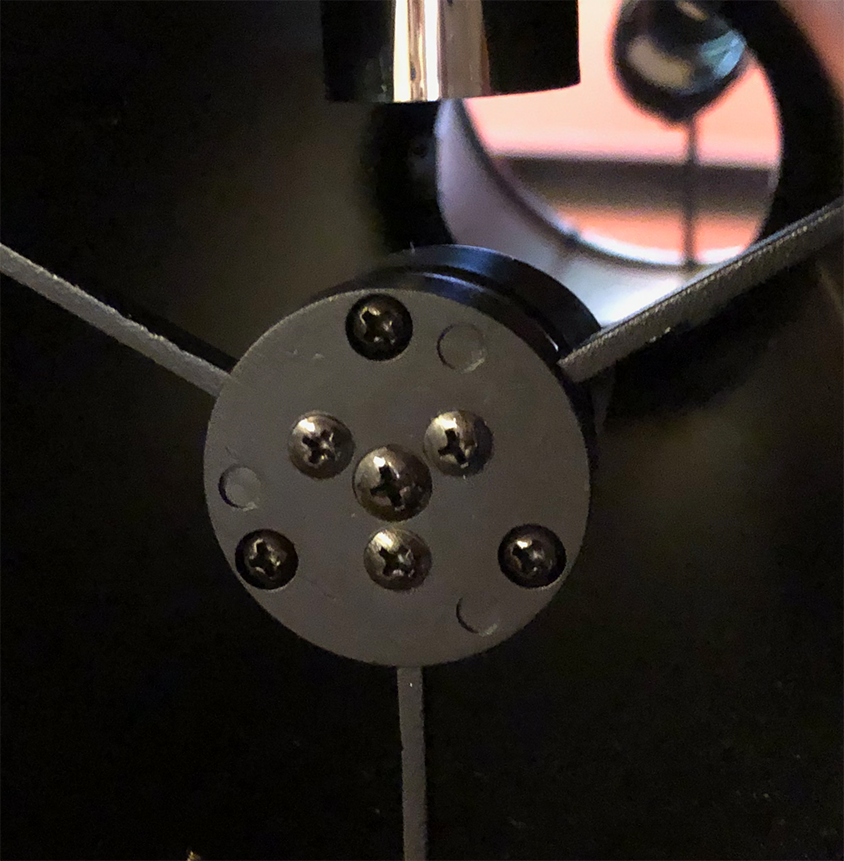
Seven screws for the secondary mirror. In the middle is the secondary mirror mounting screw and on the
outermost three collimation adjustment screws.
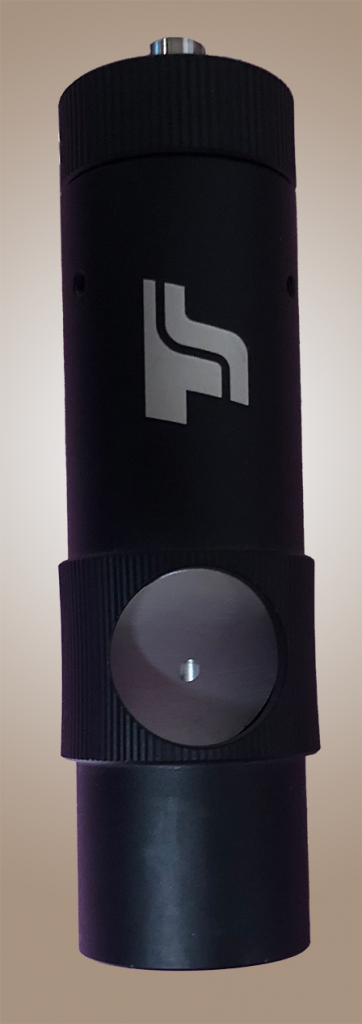
Laser collimator
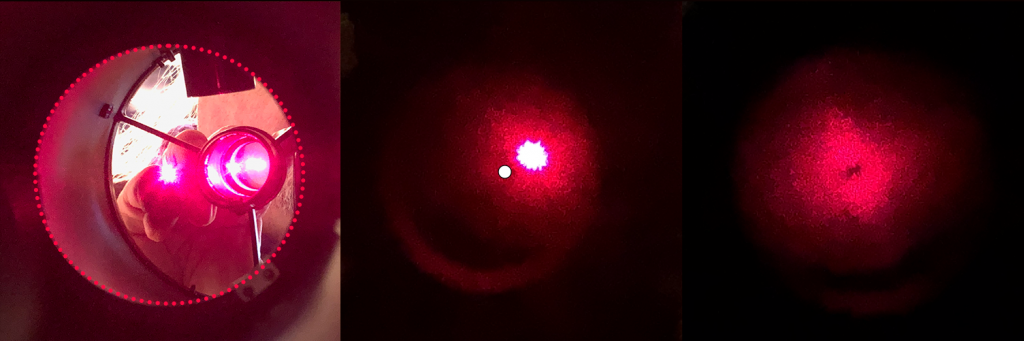
On the left, the beam coming through the secondary mirror hits approximately the center of the primary
mirror (edge dotted line). In the center the beam from the primary mirror in the collimator is slightly
off and on the right the beam is embedded in the center hole of the target
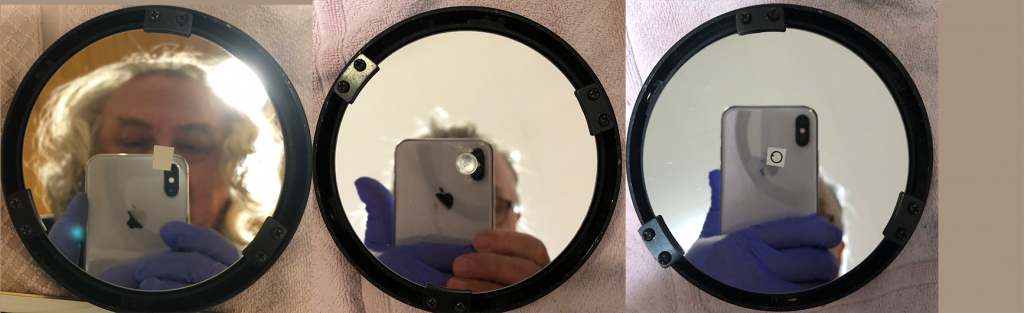
On the left is the first sticker, in the middle is an unusable hemisphere, and on the right is the final
sticker. The black dots on the stickers indicate the location of the center point.
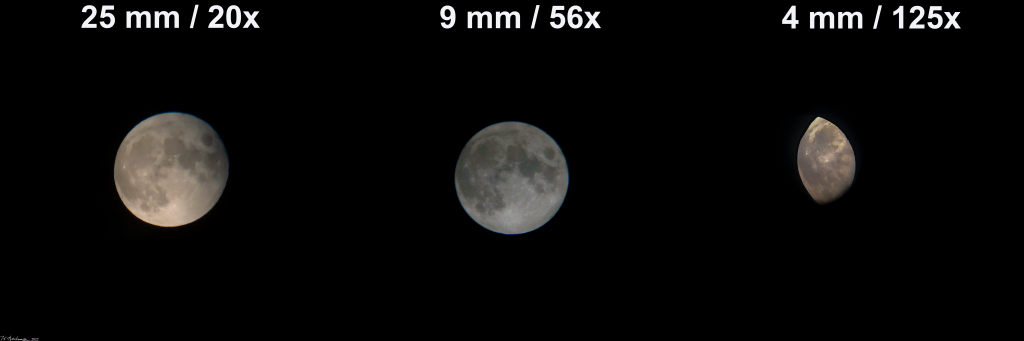
Harvest Moon using Bresser Pluto 114/500 with different eyepieces. Moon is edited to the same size as the
image.