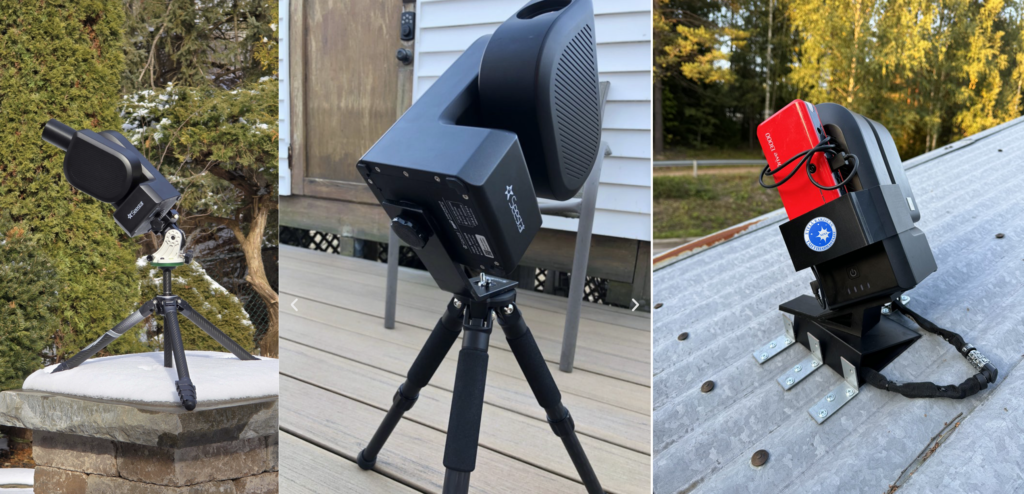
Seestar has made a real impact on amateur astronomy. When it first appeared, the idea of a compact, automated “smart telescope” raised plenty of doubts (mine included). Over time, those doubts have largely faded.
In my article a year ago I described the telescope’s main features and my first experiences. The promise was clear: easy setup, quick imaging, and surprisingly good results for a device in this class.
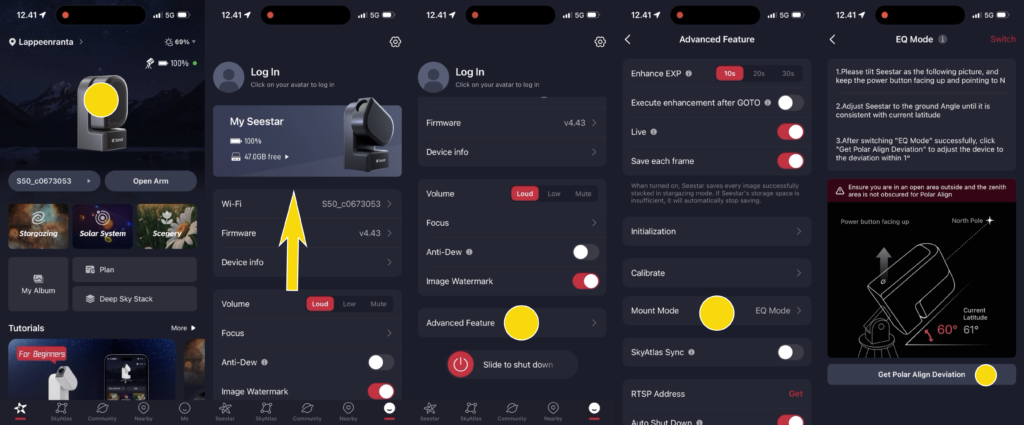
During the year the Seestar platform has been actively improved. Along the way, new features have been added — for example better target finding, improved tracking and stacking, and more flexible capture settings.
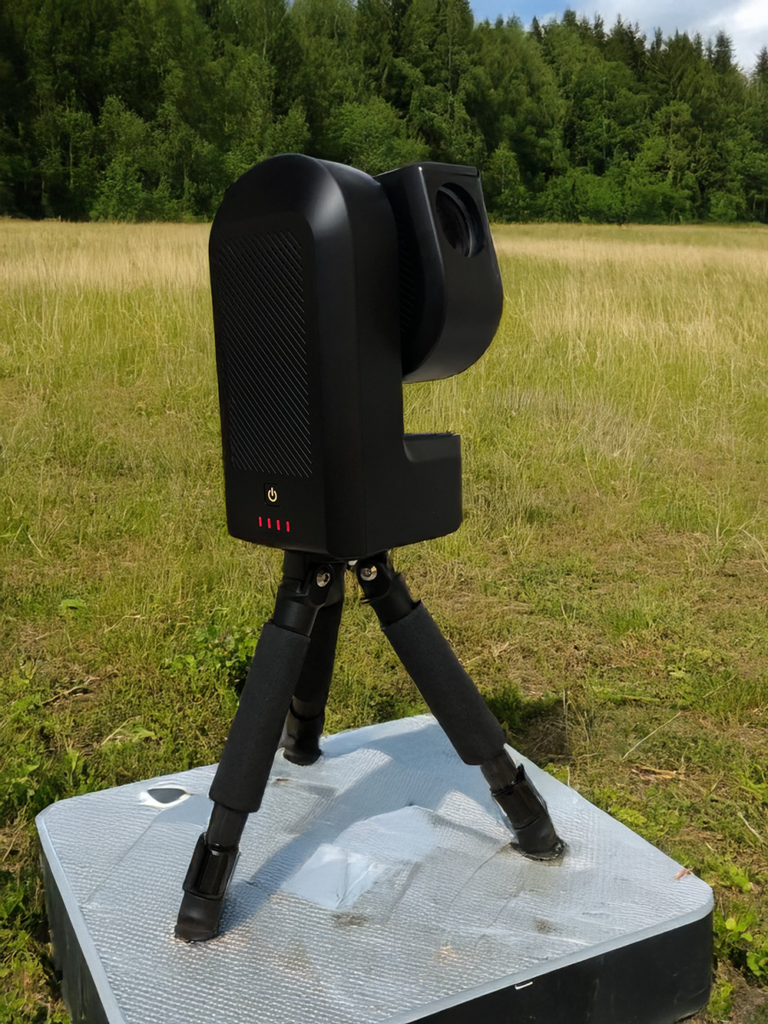
For a beginner, Seestar is designed to be as straightforward as possible. The head can move almost 180° in altitude and the base rotates 360° in azimuth, so it can reach a wide portion of the sky.
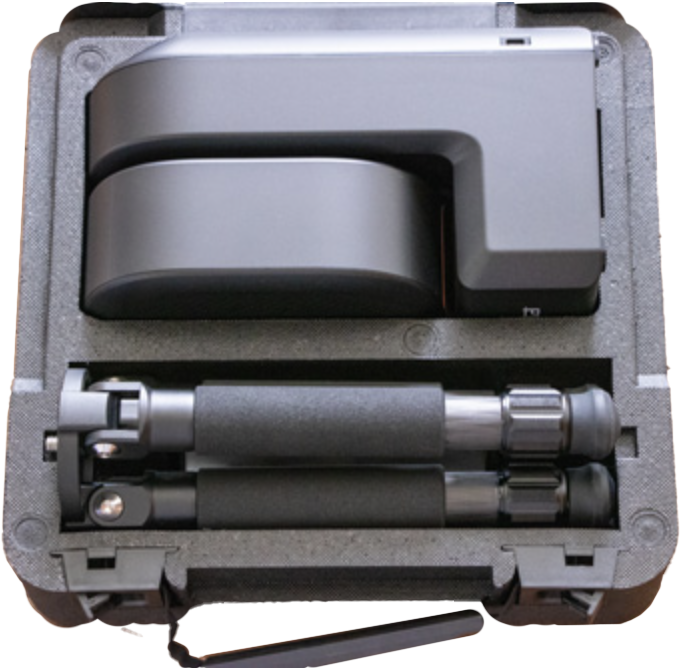
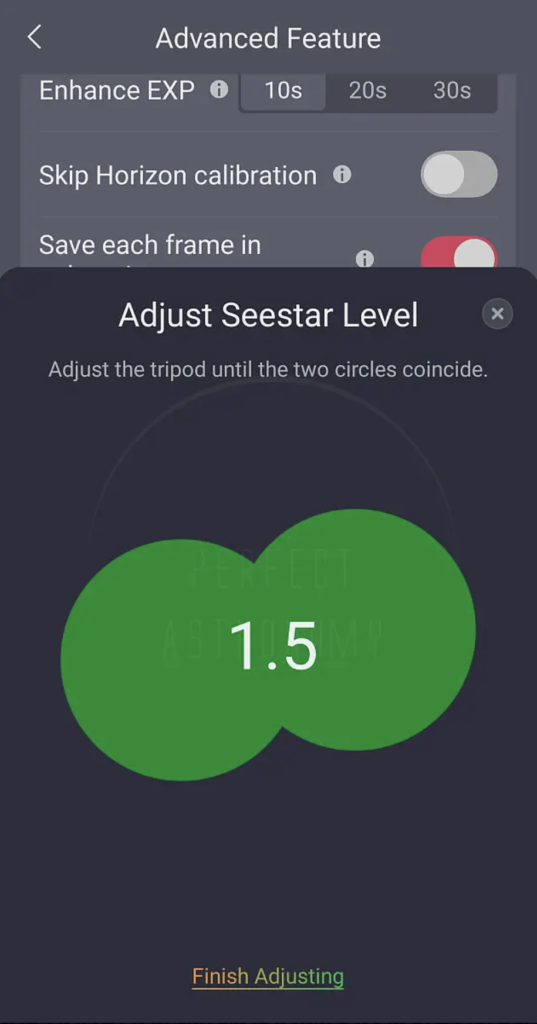
As with any telescope, a stable tripod is essential. Once the tripod is reasonably level, Seestar can guide you through leveling: in the app, the balance indicator turns from white to green when the base is level enough.
A good first contact is to test the device in daylight using nature mode, so you learn the controls and focusing behavior without the pressure of night-time setup.
On a clear day you can then try the Sun (with the supplied solar filter installed!) or the Moon. The first “wow” moments typically arrive when the telescope slews to the target and you see it appear on your screen.
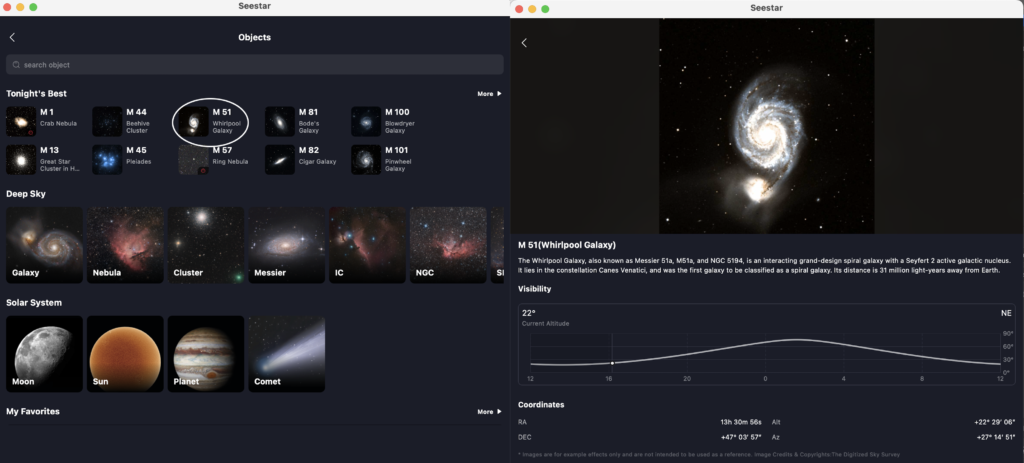
After a few sessions, the workflow becomes routine: select a target in the app, let the telescope find it, and start imaging. Over time you also learn how local conditions affect results — transparency, wind, and the presence of trees near the horizon.
Seestar can also be connected to your home Wi‑Fi, which extends the control range compared to the telescope’s own hotspot mode. In practice the range depends on walls and obstacles, but it can be noticeably better.
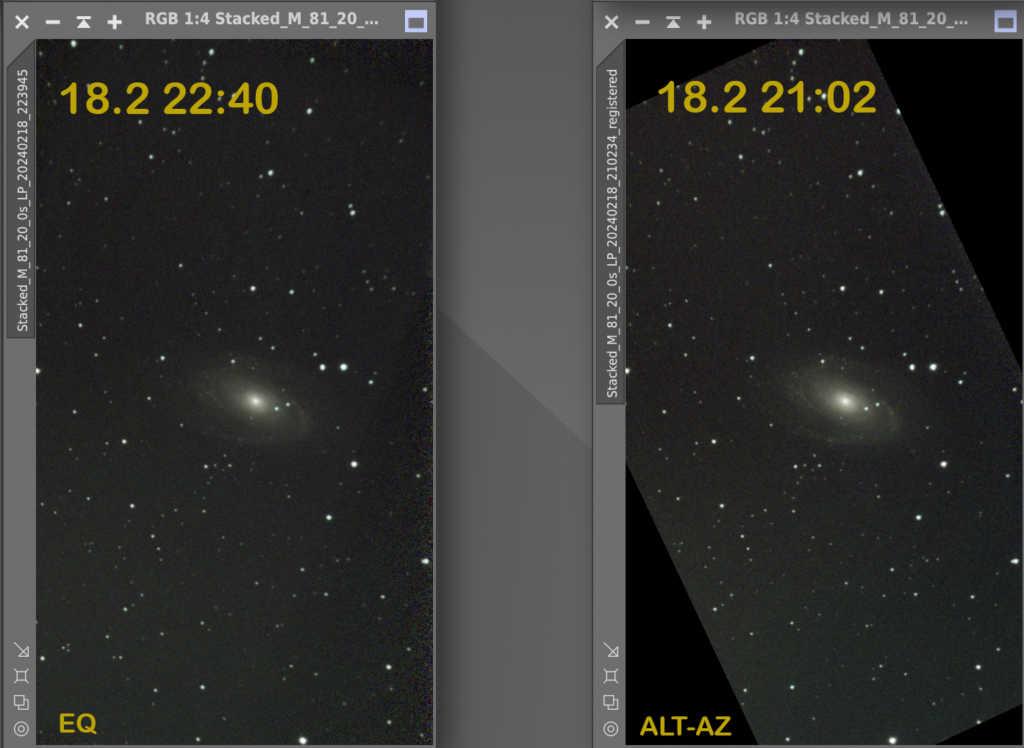
During a night Earth’s rotation gradually changes the target’s position, and tracking errors can accumulate. If stars become too elongated, Seestar may reject frames to keep the stack quality acceptable.
Overall, one year later my verdict is still positive: Seestar lowers the threshold to meaningful observing, and it also works as a practical “grab‑and‑go” imaging tool for more experienced hobbyists.